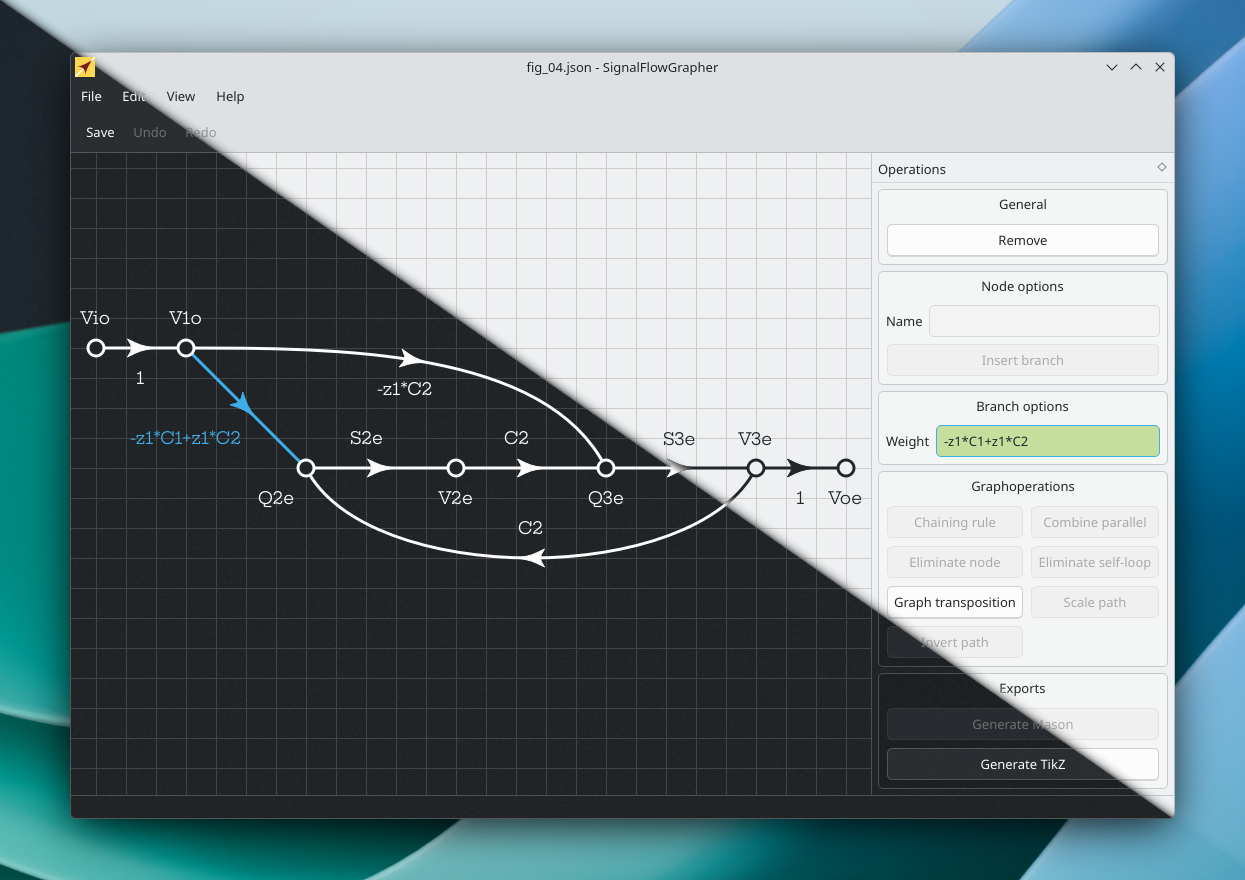
Minor update from 2.1.0: signalflowgrapher-register will now also work on Linux and macOS.
This version can be installed with pip or downloaded and run locally. Please follow the steps in the section Getting started.
Please report all issues you find to hanspeter.schmid@fhnw.ch or create an issue on github, https://github.com/hanspi42/signalflowgrapher/issues
The easiest way is to install it with pip install signalflowgrapher. After that, you can start it with the command signalflowgrapher. On Windows, MacOS and Linux, you can associate .sfg files with the signalflowgrapher by running signalflowgrapher-register, this will also create a shortcut on the desktop. signalflowgrapher-deregister removes the association again.
If you want to download it and run it locally, then clone or download from https://github.com/hanspi42/signalflowgrapher, e.g. using git clone https://github.com/hanspi42/signalflowgrapher. Next:
To install the dependencies, you can use either Miniforge or Python environments.
- If you do not have it yet, download Miniforge from https://conda-forge.org/download/ and install it.
- Open a miniforge prompt.
cdto the top directory of this repository.- Build a python environment with
conda env create --file=requirements/sfg.yml. - Activate the evironment with
conda activate sfg. cd src.- Start the signalflowgrapher with
python -m signalflowgrapher.
- Get the latest version of Python from https://www.python.org/
- Open the repository’s root directory in a terminal
- Create virtual environment using the command
python -m venv sfg - On Windows run
sfg\Scripts\activate.batorsfg\Scripts\Activate.ps1 - On Unix or MacOS run
source sfg/bin/activate - Run
pip install -r requirements/base.txt cd src.- Start the signalflowgrapher with
python -m signalflowgrapher.
There is none yet, but to familiarize yourself with signal-flow graphs, you can
- watch the signalflowgrapher intro video on https://tube.switch.ch/videos/609c0510 ,
- Watch "Signal-Flow Graphs in 12 short lessons" on https://tube.switch.ch/channels/d206c96c?order=episodes ,
- Read our papers, https://link.springer.com/article/10.1007%2Fs10470-018-1131-7 and http://rdcu.be/naw5 .
- The signalflowgrapher supports export as PNG, but you can get nice SVG versions of the graphs by exporting TikZ, converting it to pdf with pdflatex, and then run https://github.com/dawbarton/pdf2svg .
See more details in Developer documentation for V2.0.
- Go to the
signalflowgrapher\src\main\pythondirectory in a terminal or an anaconda terminal - Run
python -m unittest - Run
flake8 -v
This package is distributed under the Artistic License 2.0, which you find in the file LICENSE and on the internet on https://opensource.org/licenses/Artistic-2.0.
Many people have discussed this, given feedback, reported issues, ...
The largest code contributions are from Simon Näf, Nicolai Wassermann, Michael Saladin, Pascal Gsell, and Hanspeter Schmid.
The first version checked in was the result of a bachelor thesis at the University of Applied Sciences and Arts Northwestern Switzerland, https://www.fhnw.ch/en/. Students: Simon Näf and Nicolai Wassermann. Advisors: Dominik Gruntz and Hanspeter Schmid. Contact author: hanspeter.schmid@fhnw.ch
Implemention of Johnson's algorithm: https://github.com/qpwo/python-simple-cycles