



Integrate consoles, shells, and terminals inside Obsidian.

Repository · Changelog · Community plugin · Related · Features · Installation · Usage · Contributing · Security
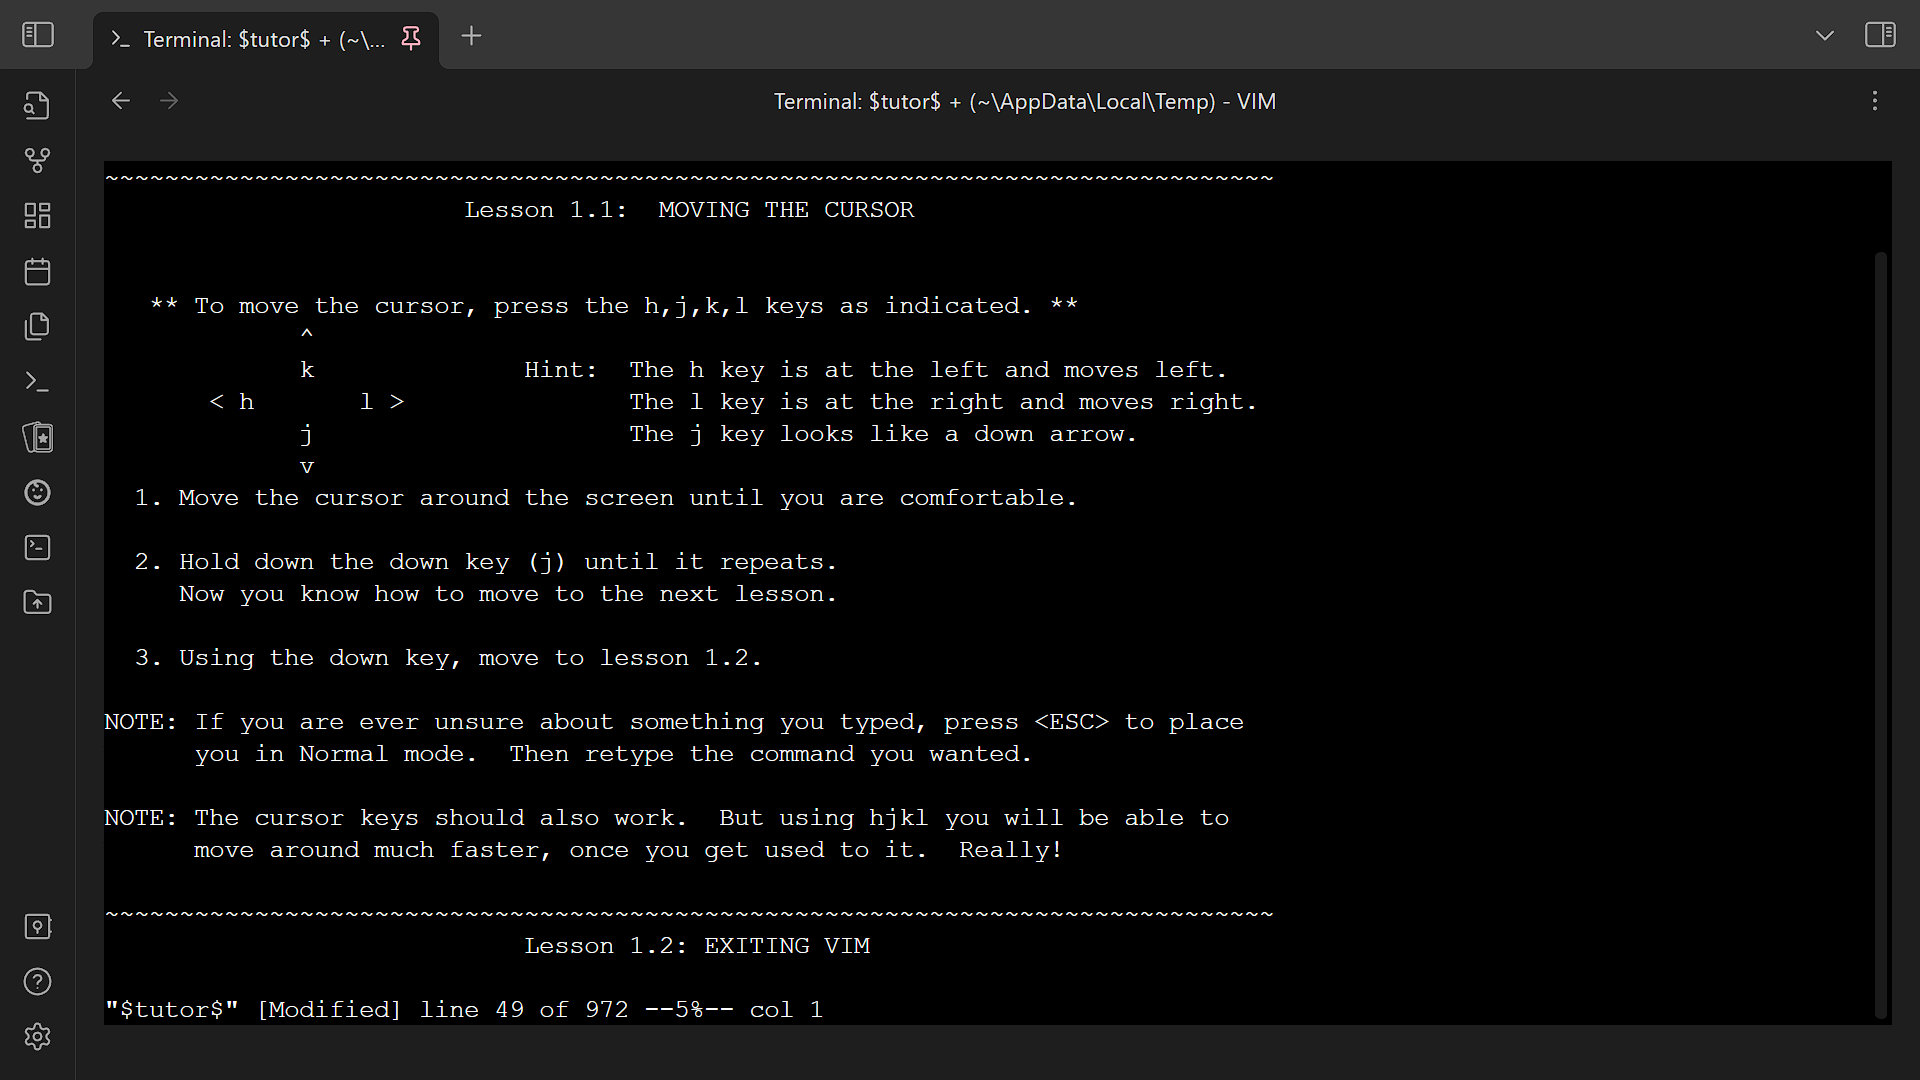
For first time users, read the installation section first!
This file is automatically opened on first install. You can reopen it in settings or command palette.
- Start external terminals from Obsidian.
- Integrate terminals into Obsidian.
- Has an emulated developer console usable on all platforms.
- Supports multiple terminal profiles.
- Has built-in keyboard shortcuts.
- Automatically save and restore integrated terminal history.
- Find in terminal.
- Save terminal history as file.
- Customize terminal appearance.
- Install plugin.
- Community plugins
- Install the plugin from community plugins directly.
- Manual
- Create directory
terminalunder.obsidian/pluginsof your vault. - Place
manifest.json,main.js, andstyles.cssfrom the latest release into the directory.
- Create directory
- Building (rolling)
- Obsidian42 - BRAT (rolling)
- See their readme.
- Community plugins
- (optional for Windows, recommended) Install Python.
- Install Python 3.9 or above. The default ConPTY backend needs no pip packages; the ConHost backend's resizer additionally needs Python packages. Use the profile's "Copy install command" button and run the command in PowerShell, or run
python -m pip install --upgrade "psutil>=5.9.5" "pywinctl>=0.0.50" "typing_extensions>=4.7.1"if your profile usespython. - On Windows, the plugin tries the profile's Python interpreter, then the interpreter in the plugin settings, then
python,python3, andpy -3, using the first working interpreter. Stored profile values stay unchanged. An empty profile Python field no longer disables Python on Windows; the ConHost resizer runs whenever a usable Python with its packages is found, and there is no setting to turn it off. If ConPTY is selected but no usable Python is found, its ConPTY host cannot be confirmed, or the host already failed with this Python configuration, that terminal opens with ConHost. If the ConPTY host fails while a terminal starts, that terminal shows an error and later terminals open with ConHost. The saved backend stays ConPTY; after installing or repairing Python, select "Recheck Python" in the plugin settings (or restart Obsidian) to retry ConPTY. On other platforms, configure the Python executable per profile and press the "Check" button to validate it.
- Install Python 3.9 or above. The default ConPTY backend needs no pip packages; the ConHost backend's resizer additionally needs Python packages. Use the profile's "Copy install command" button and run the command in PowerShell, or run
- Enable plugin.
- (optional) Configure plugin settings.
- To start a new external or integrated terminal
- Ribbon
- Click on the
Open terminalribbon. - Opens the default terminal if you have set up one. Otherwise, choose the desired profile.
- Click on the
- Context menu
- Right-click on files, folders, or tab headers.
- Choose the desired action (and profile).
- Command palette
- Press
Ctrl+Por click on theOpen command paletteribbon next to the left window border. - Choose the desired action (and profile).
- Press
- Select profile modal
- Choose the desired profile. Press
Ctrlto edit the profile before use. The item(Temporary profile)starts a terminal with a temporary profile.
- Choose the desired profile. Press
- Ribbon
- To save and restore integrated terminal history
- Keep the terminal open when exiting Obsidian.
- Terminal history will be restored next time Obsidian is opened.
- Additional actions
- Includes
- Clear terminal: (1), (4)
- Copy terminal: (1)
- Edit terminal: (1)
- Export, import, or edit settings: (2), (3)
- Find in terminal: (1), (4)
- Open documentation: (2), (3)
- Restart terminal: (1)
- Save terminal history: (1)
- Available by
- (1) Right-click on tab header/
More options - (2) Open settings
- (3) Open command palette
- (4) Use keyboard shortcuts
- (1) Right-click on tab header/
- Includes
The keyboard shortcuts can be customized in hotkeys settings.
- Toggle focus on last terminal:
Ctrl+Shift+`- Focus on last terminal: (unbound; useful if you want separate keys for focus and unfocus)
When a terminal is focused, other keyboard shortcuts (including Obsidian and plugin hotkeys) are disabled. Only the following keyboard shortcuts work. Thus you can ignore Obsidian complaining about conflicting keys for the following keyboard shortcuts.
This behavior can be turned off via the Intercept keys when terminal is focused setting; when disabled, Obsidian hotkeys keep working while the terminal has focus.
- Clear terminal:
Ctrl+Shift+K,Command+Shift+K(Apple) - Close terminal:
Ctrl+Shift+W,Command+Shift+W(Apple) - Find in terminal:
Ctrl+Shift+F,Command+Shift+F(Apple) - Toggle focus on last terminal:
Ctrl+Shift+`(same as above)- Unfocus terminal: (unbound; useful if you want separate keys for focus and unfocus)
Theming is possible. However, there is no user-friendly interface for now.
- Open the profile editing modal.
- Click on the
Editbutton labeledData. It should open up a new modal in which there is a large textbox. - Notice
terminalOptionsin the text area labeledData. Refer to thexterm.jsdocumentation (ITerminalOptions) to set the options. Nested objects may need to be used.- You can also configure global defaults via the plugin settings page (see
Profile defaults). Those options act as a fallback for every profile unless a profile explicitly overrides them.
- You can also configure global defaults via the plugin settings page (see
- Save the profile. Changes should apply immediately.
This plugin comes with several profile presets that you can reference.
When setting up a terminal profile, you need to distinguish between shells and terminal emulators. (Search online if needed.) Generally, integrated profiles only work with shells while external ones only work with terminal emulators.
- Bash:
bash --login - Bourne shell:
sh - Command Prompt:
cmd - Dash:
dash - Git Bash:
<Git installation>\bin\bash.exe --login(e.g.C:\Program Files\Git\bin\bash.exe) - PowerShell Core:
pwsh - Windows PowerShell:
powershell - Windows Subsystem for Linux:
wslorwsl -d <distribution name> - Z shell:
zsh --login
- Command Prompt:
cmd - GNOME Terminal:
gnome-terminal - Konsole:
konsole - Terminal (macOS):
/System/Applications/Utilities/Terminal.app/Contents/macOS/Terminal "$PWD" - Windows Terminal:
wt - iTerm2:
/Applications/iTerm.app/Contents/MacOS/iTerm2 "$PWD" - xterm:
xterm
This plugin patches require so that require("obsidian") and other Obsidian modules work in the developer console. It is toggleable as Expose internal modules in settings.
In the developer console, a context variable $$ is passed into the code, which can be used to dynamically change terminal options.
The full API is available from src/@types/obsidian-terminal.ts.
- Is the plugin useful on mobile?
- Compared to on desktop, it is much less useful. The only use for it for now is opening a developer console on mobile.
- Why do hotkeys not work?
- If the terminal is in focus, all Obsidian hotkeys are disabled so that you can type special characters into the terminal. You can unfocus the terminal by pressing
Ctrl+Shift+`, then you can use Obsidian hotkeys again. Alternatively, disable theIntercept keys when terminal is focusedsetting to keep Obsidian hotkeys working while the terminal has focus.
- If the terminal is in focus, all Obsidian hotkeys are disabled so that you can type special characters into the terminal. You can unfocus the terminal by pressing
Contributions are welcome!
This project uses changesets to manage the changelog. When creating a pull request, please add a changeset describing the changes. Add multiple changesets if your pull request changes several things. End each changeset with ([PR number](PR link) by [author username](author link)). For example, the newly created file under the directory .changeset should look like:
---
"example": patch
---

This is an example change. ([GH#1](https://github.com/ghost/example/pull/1) by [@ghost](https://github.com/ghost))package.json defines the executable workflow:
bun run checkruns TypeScript, ESLint, markdownlint, Prettier, Ruff, and Ty checks.bun run formatapplies ESLint, markdownlint, Prettier, and Ruff fixes, then runs Ty.bun run buildrunsbun run check, then creates the production bundle.bun run build:devstarts the development watcher without running the checks.bun run commitlintchecks commits fromorigin/mainthroughHEAD.
Prek manages the Git hooks in prek.toml. The pre-commit hooks format supported files. The commit-message hook runs commitlint. The pre-push hook runs the full test suite.
To set up locally:
- Install Bun and uv.
- Run
bun installto install JavaScript dependencies and Prek hooks. - Run
uv sync --lockedto install the locked Python environment.
Use these scoped commands when one check needs attention:
bun run check:tsc— TypeScript type checkbun run check:eslint— TypeScript and JavaScript lintbun run check:md— Markdown lintbun run check:prettier— Prettier checkbun run check:py— Ruff formatting, Ruff lint, and Ty checksbun run format:eslint— ESLint fixesbun run format:md— Markdown fixesbun run format:prettier— Prettier fixesbun run format:py— Ruff fixes and Ty check
Configuration files:
eslint.config.mjs— ESLint rules.prettierrc.mjs— Prettier rules.prettierignore— Prettier ignore patterns.markdownlint.jsonc— markdownlint rules.markdownlint-cli2.mjs— markdownlint file selection.commitlintrc.mjs— commitlint configprek.toml— Git hooks
This repository uses Pytest for Python tests and Vitest for TypeScript and JavaScript tests.
- Run every non-interactive test with coverage:
bun run test. - Run only Python tests:
bun run test:py. - Run only Vitest tests:
bun run test:vitest. - Run Vitest interactively:
bun run test:watch. - The Prek pre-push hook runs
bun run testand blocks a push when a test fails.
See vitest.config.mts for minimal config and further instructions.
The ConPTY host and ConHost resizer tests run on native Windows only. See Windows backend tests.
The todos here, ordered alphabetically, are things planned for the plugin. There are no guarantees that they will be completed. However, we are likely to accept contributions for them.
- Connect to remote shells.
- Detect sandboxed environment and notify users.
- External link confirmation.
- Filter console log by severity in the developer console.
- Indicate that the terminal resizer has crashed or is disabled.
- Shared terminal tabs.
- Vim mode switch.
We hope that there will never be any security vulnerabilities, but unfortunately it does happen. Please report them!
| Version | Supported |
|---|---|
| rolling | ✅ |
| latest | ✅ |
| outdated | ❌ |
Please report a vulnerability by opening a private vulnerability report. We will get back to you as soon as possible.